


Microsoft added Cortana to Windows 10 and it is not easy to remove the feature from your system. If you delete Cortana, other related features, including Windows Search and Start Menu could also face issues.
However, the company made it possible to properly delete Cortana from Windows with the recent Windows 10 May 2020 Update (version 2004). In this step-by-step guide, we will show you how to delete Cortana from your Windows 10 PC.
Before proceeding, make sure that you are running the Windows 10 version 2004 or higher on your device. You can check the current Windows version by opening Settings and navigating to System > About, and then scrolling down and reading the “Version” of Windows that you’re running.
Uninstall Cortana in Windows 10 using PowerShell
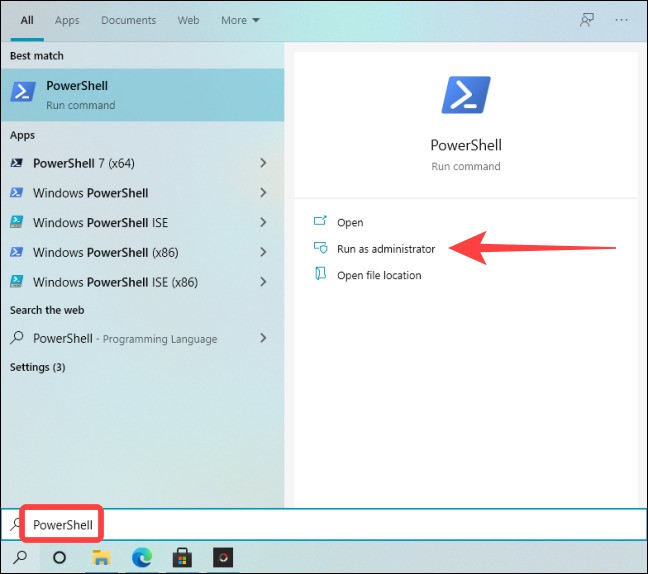
Step 1: Open PowerShell on your computer. For this, open the Start menu and type “PowerShell.” From the search results, right-click on the application and click on the “Run as Administrator” option or select Run as administration from right-side options.
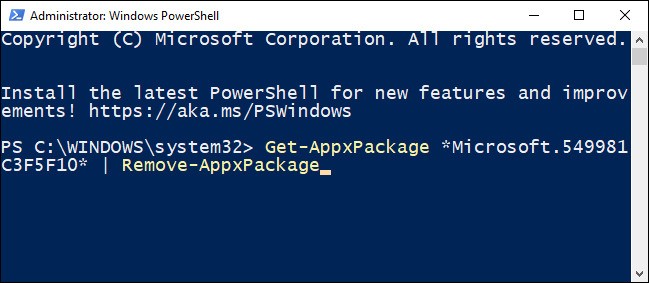
Step 2: In the PowerShell window, type the following command:
Get-AppxPackage *Microsoft.549981C3F5F10* | Remove-AppxPackage
This command will remove Cortana for the current user only on your device.
If you want to remove Cortana for all users, type (or paste) this command and press Enter:
Get-AppxPackage -AllUsers -PackageTypeFilter Bundle -name "*Microsoft.549981*"
Step 3: After running the command, you’ll see an empty command prompt on the next line. If you don’t see any error messages, then the process has worked.
Once that is done, close PowerShell. If you open the Start menu and use Windows Search to look for Cortana, then it won’t appear as a System app in the search results.


More Stories
How to add multiple time zone clocks in Windows 10
How to bulk resize images in Windows 10 using PowerToys
2 Ways To Use Function Keys Without Pressing Fn Key On Windows 10