We all have faced a situation where we want to make a phone call but there are some network issues or the cellular network isn’t available. To solve this, network carriers are now offering Wi-Fi calling feature.
On the iPhone, with the feature enabled, you can send and receive audio calls, FaceTime video calls, and iMessage texts through your Wi-Fi connection. The feature is helpful if you need calling services and can’t get a good cellular signal.
In this step-by-step guide, we will show you how to enable the Wi-Fi Calling feature on your iPhone. Do note that you will need an iPhone 5c or later and your carrier must support the feature.
How to enable Wi-Fi Calling on iPhone
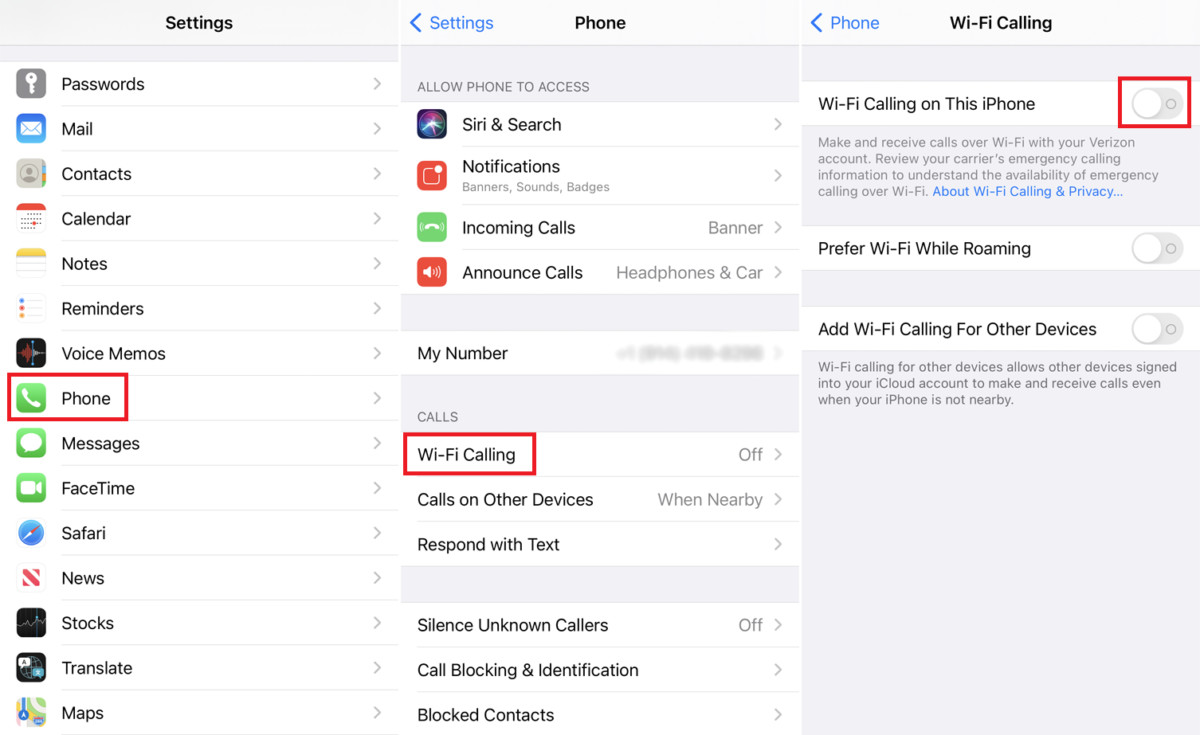
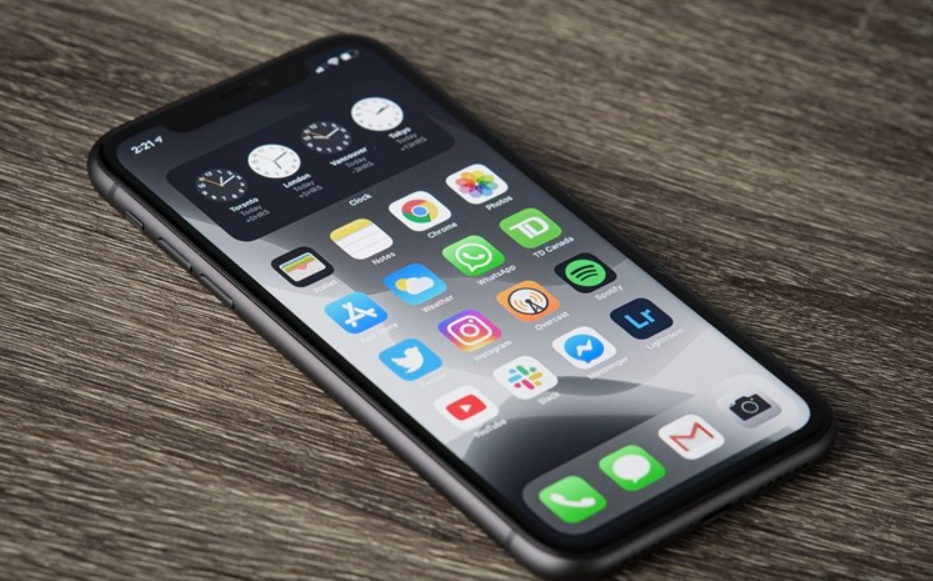
Step 1: On your iPhone, open the Settings app from the home screen.
Step 2: Now, in Settings, go to Phone (or Cellular) and then tap on Wi-Fi Calling.
Step 3: Toggle ON the option for “Wi-Fi Calling on This iPhone.”

You will see a message appear on the screen that explains what information is sent to your carrier when you enable the Wi-Fi calling feature on your smartphone. You can tap on the “Enable” button to continue.
If you are enabling the feature for the first time, then it will prompt you to enter your address. This allows the phone to make emergency calls. Once you complete this and agree to terms and conditions, the feature will get enabled.
To confirm that the Wi-Fi Calling feature is enabled, look for the words “Wi-Fi” with the phone’s carrier name on your phone. If you see it, then the feature is enabled and you can make calls even when the cellular connection isn’t available.


More Stories
How to quickly print iPhone reminders in iOS 14.5
How to use voice control to take photos on iPhone
How to show battery percentage on iPhone 12 series models